
What order should things happen in? This is a question which has all sorts of different facets when working on music. Making electronic music, I’ve cycled heaps of equipment in and out of a workflow whose labyrinthine, capricious pathways are like an animated M.C. Escher, and known in its entirety to me alone; part signal flow diagram, part chess strategy.

The whole darn thing is complex. But the main complication is this: My “instrument,” meaning the collection of electronic bits and pieces I use to create and perform music, needs to be one-in-the-same item for both production and performance.
“Dude!” I hear you exclaim, “laptops for production and performance have been a thing since the mid 2000s!” I know full well that some of you will hate me for saying this, but I just don’t dig laptops for performing. And I don’t particularly dig Ableton. There, I said it.
Don’t confuse this with a claim that Ableton is bad. Obviously it is not. Very many people do excellent work with it. Ableton’s division between Session and Arrangement views was groundbreaking for DAWs, and for many people resolved the very problem I have stated above: the problem of integrating electronic production and performance.
Why avoid the proven laptop-DAW combo then? Well, I’m not really going to get into that, except to say that I rather use distinct physical modules to a controller plugged into a laptop. Personal preference I guess. The combination of hands-on and physically separate devices doing specific things has meant I have been able to develop a solid performance strategy which is no more or less than the upshot of my studio production.
But being stubborn about this has had some drawbacks. Gear cycling is a problem. I’m now at a point where I my workflow is less erratic and prone to constant alteration, but only because I’ve spent years refining it where, for so long, experimenting drove most of my choices. And sometimes they were expensive choices, being honest.

What this means is that I can put it all in a box. I mean an actual box, not “ITB”. So, I built one. I could have bought one, but to get it exactly the way I wanted it would have been expensive. I’ve built flight cases before, and I know they’re not too difficult. But, you might ask, is this not a time-waster? Couldn’t I be spending this time, I dunno, programming Reaktor ensembles or something?
Here’s the thing. Using your hands – or learning how to use your hands – is good for you. We all stare at screens too much. I’m not condemning you, I am entirely guilty. For an experienced composer, “writer’s block” is no longer much of an excuse, but all the same breaking out some tools out literally getting my hands dirty is a great way to reinvigorate my practice.
What is music? That’s a question I keep returning to when its boundaries are always being called into question. For instance, to write well for violin, a composer needs to understand a player’s relationship with the violin. Which means the composer must meet violinists – to study them, but become friends with them too – which means music is gestures and music is relationships. Music looks a certain way. Music feels and smells a certain way. Building a flight case is making music. A trip to the hardware store is making music.
I’m going to put my photos of my case here, because you might want to build one too. It’s not too tricky!
“It’s a dangerous business, walking out one’s front door.” – Gandalf.
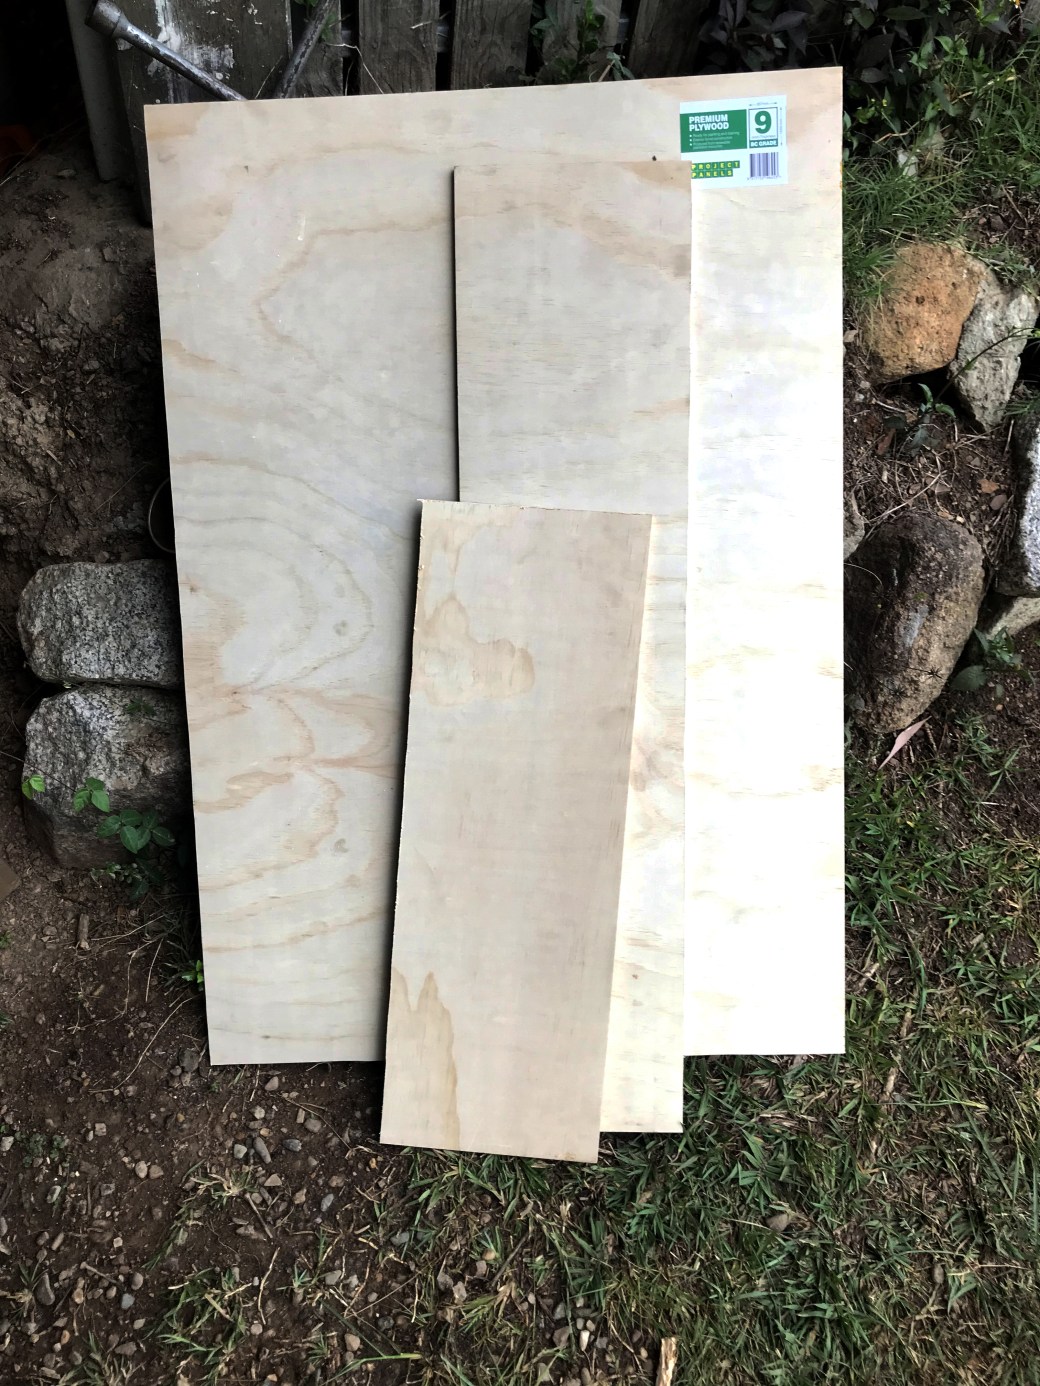
Flight cases are generally made from 9mm plywood. Even if you buy the pre-covered wood, it’s 9mm. It’s best to do a plan of your box, so you’ll know how much wood to buy.
You’ll also need something like this:
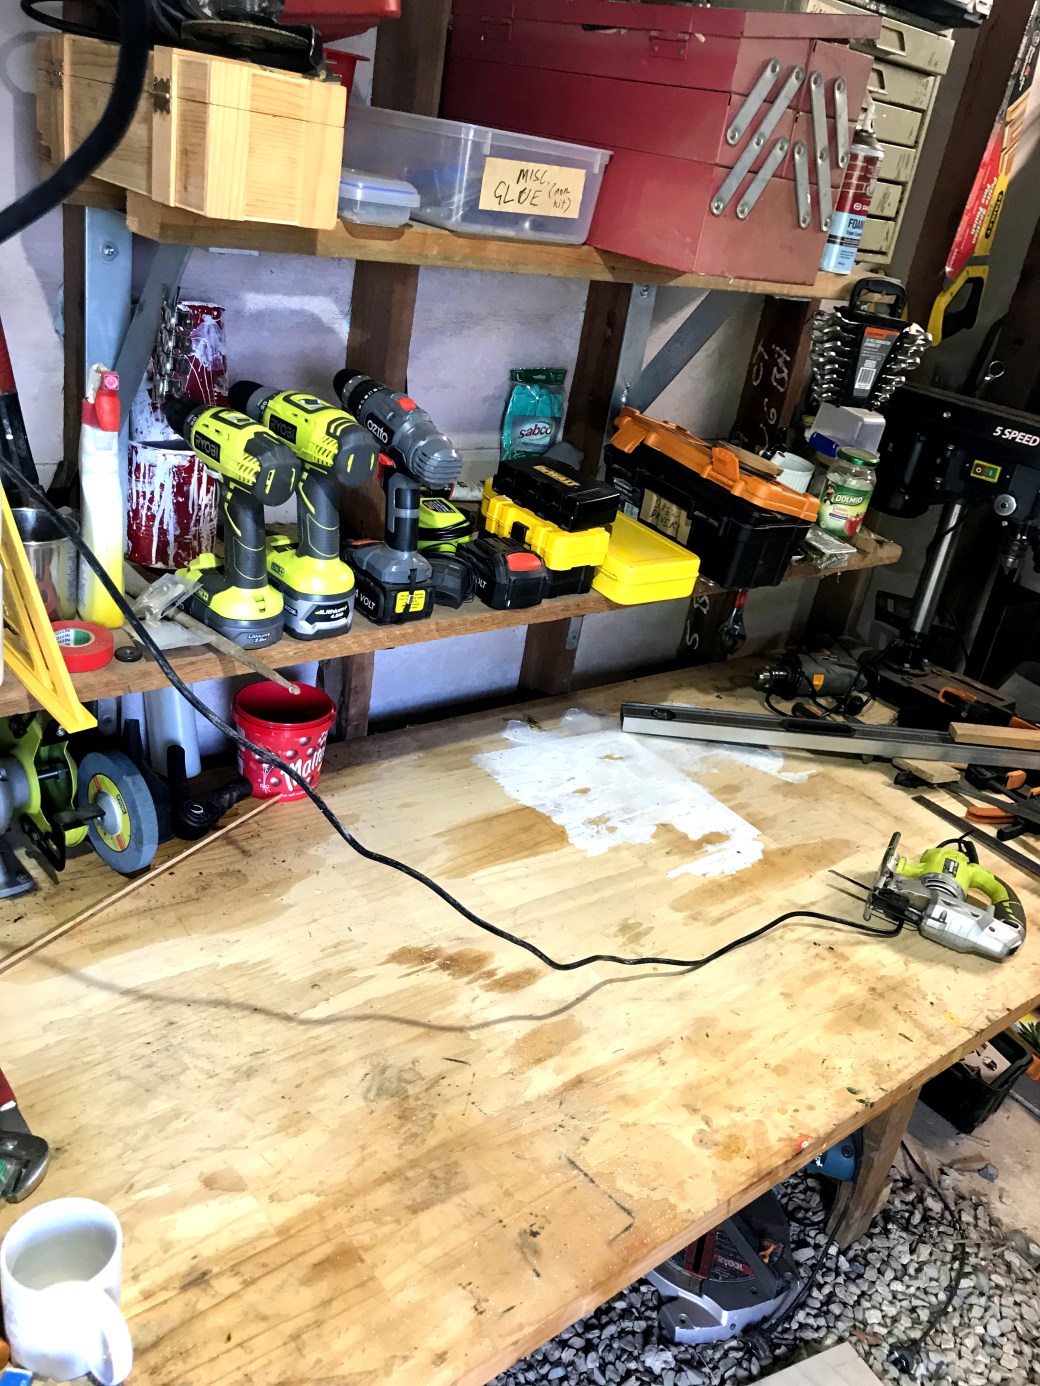
In short:
- Bench
- Jigsaw
- Ruler and square
- Drill (and adapter for screw driver if you want to save some trouble)
- Rivet gun. Manual, if you enjoy muscular pain. Some of the thicker rivets are extremely difficult to put in manually. I did it because I am a masochist.
- A clamp or two
This one is not strictly necessary:

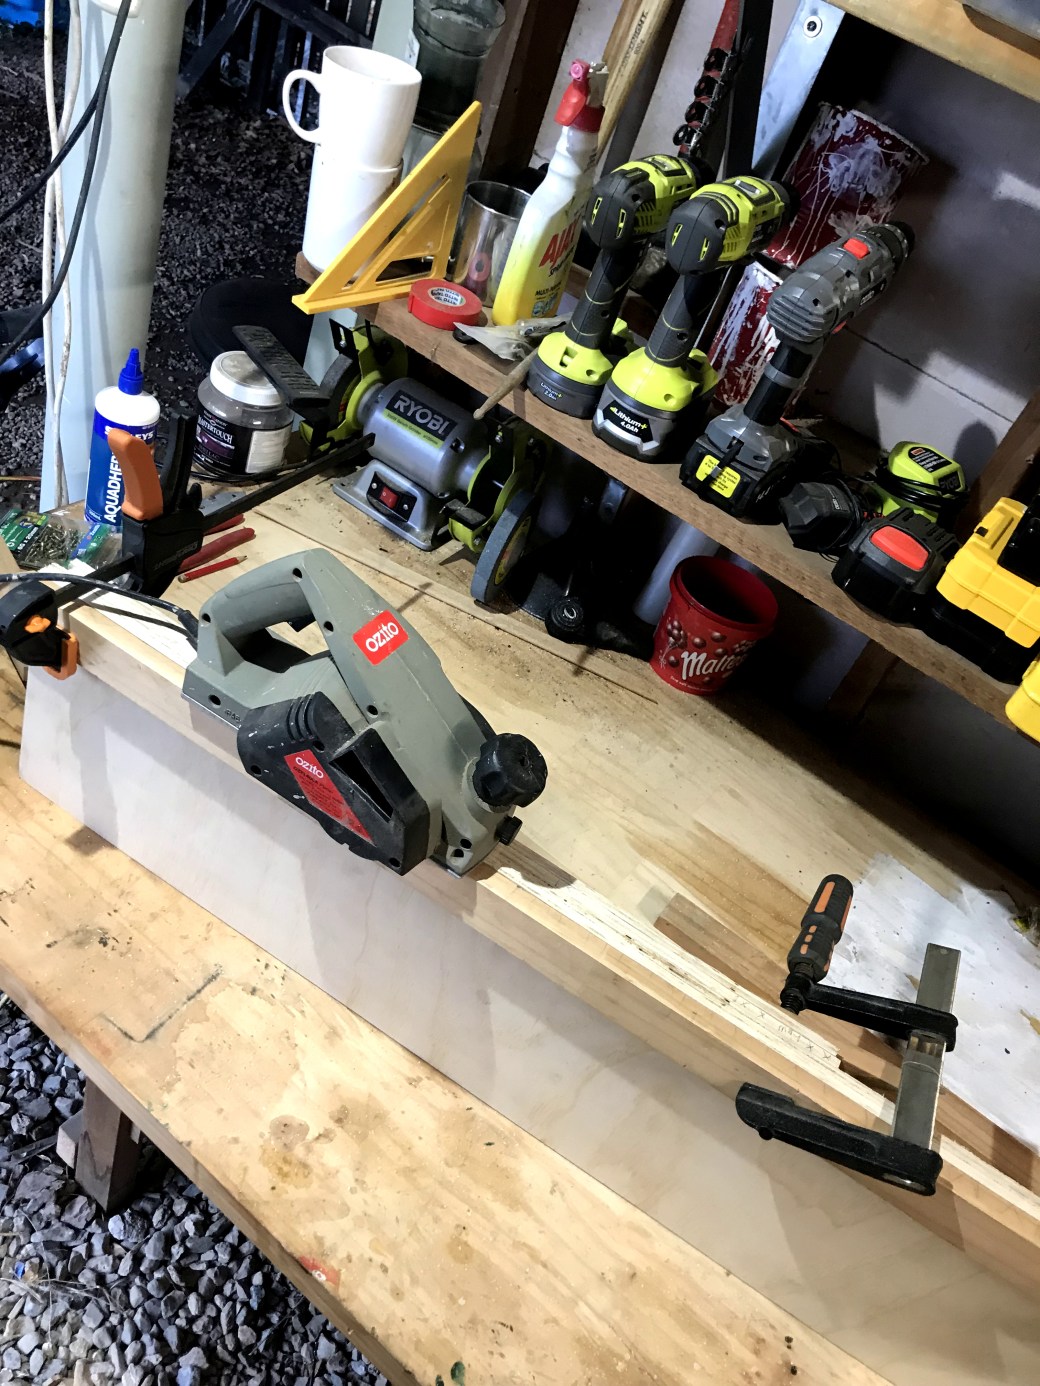
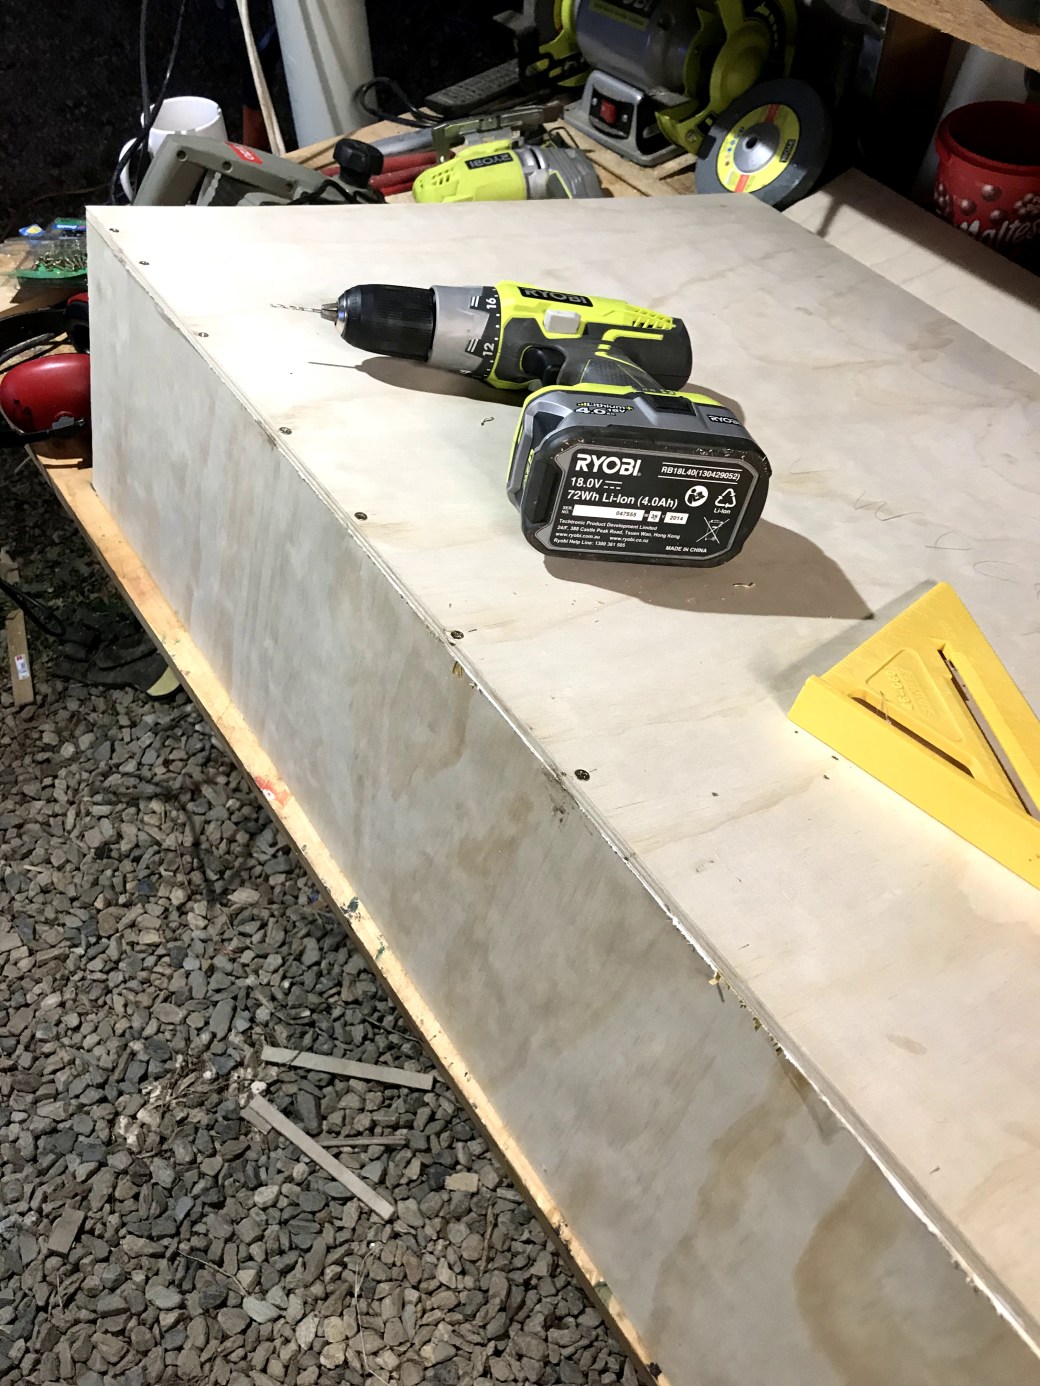
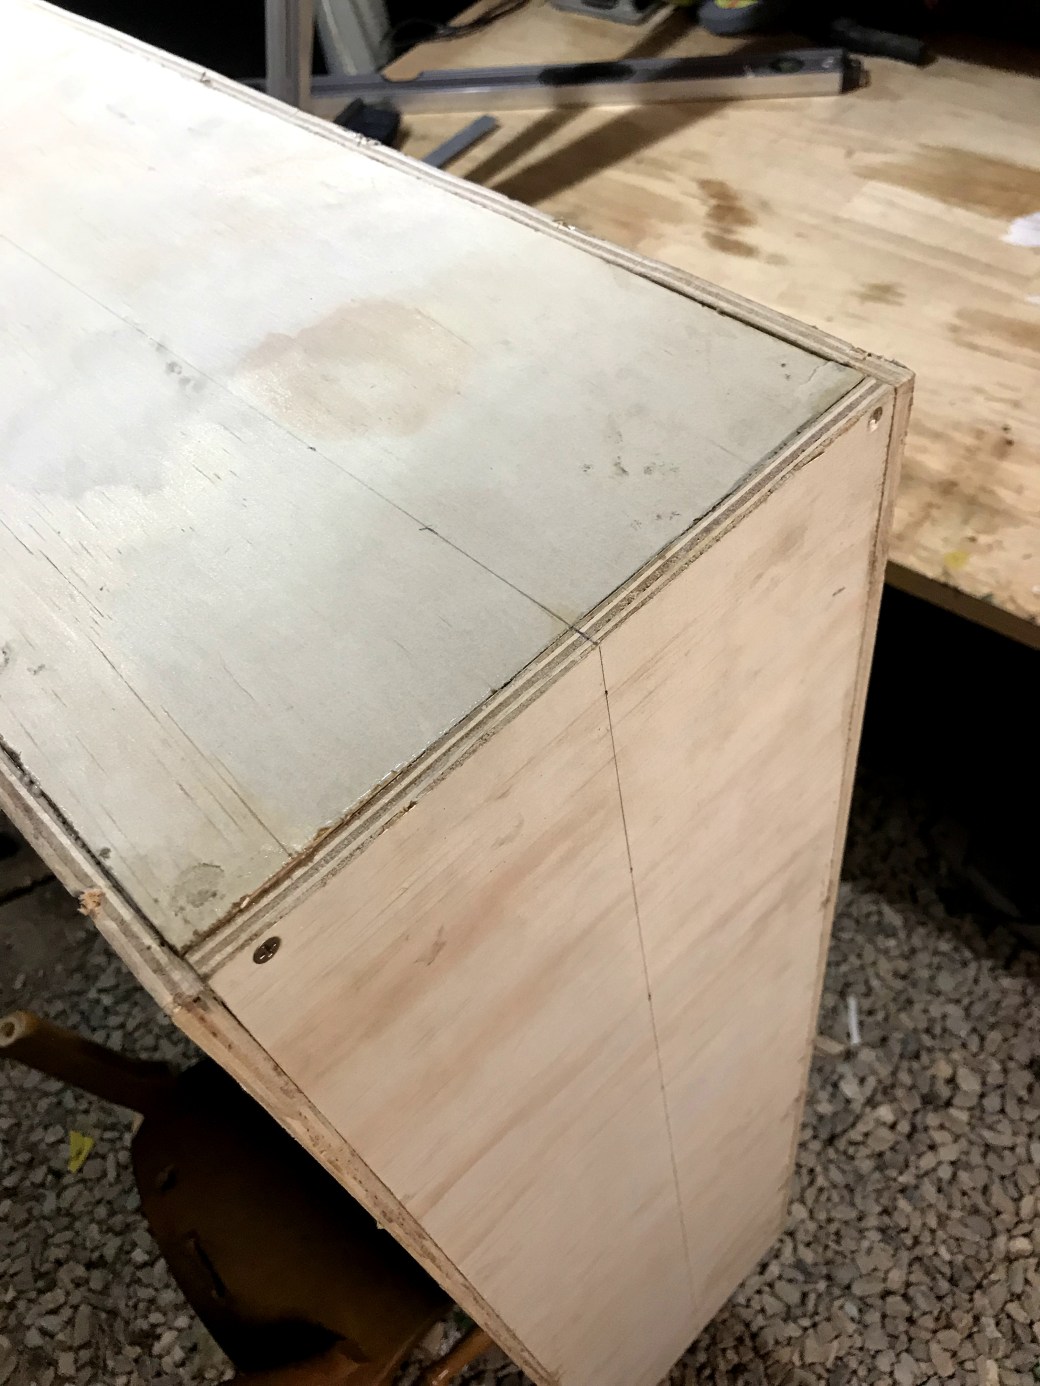
I inexpertly cut the timber with a cheap jigsaw which meant uneven edges. I leveled them off with a plane, but you could do this manually with sand paper.
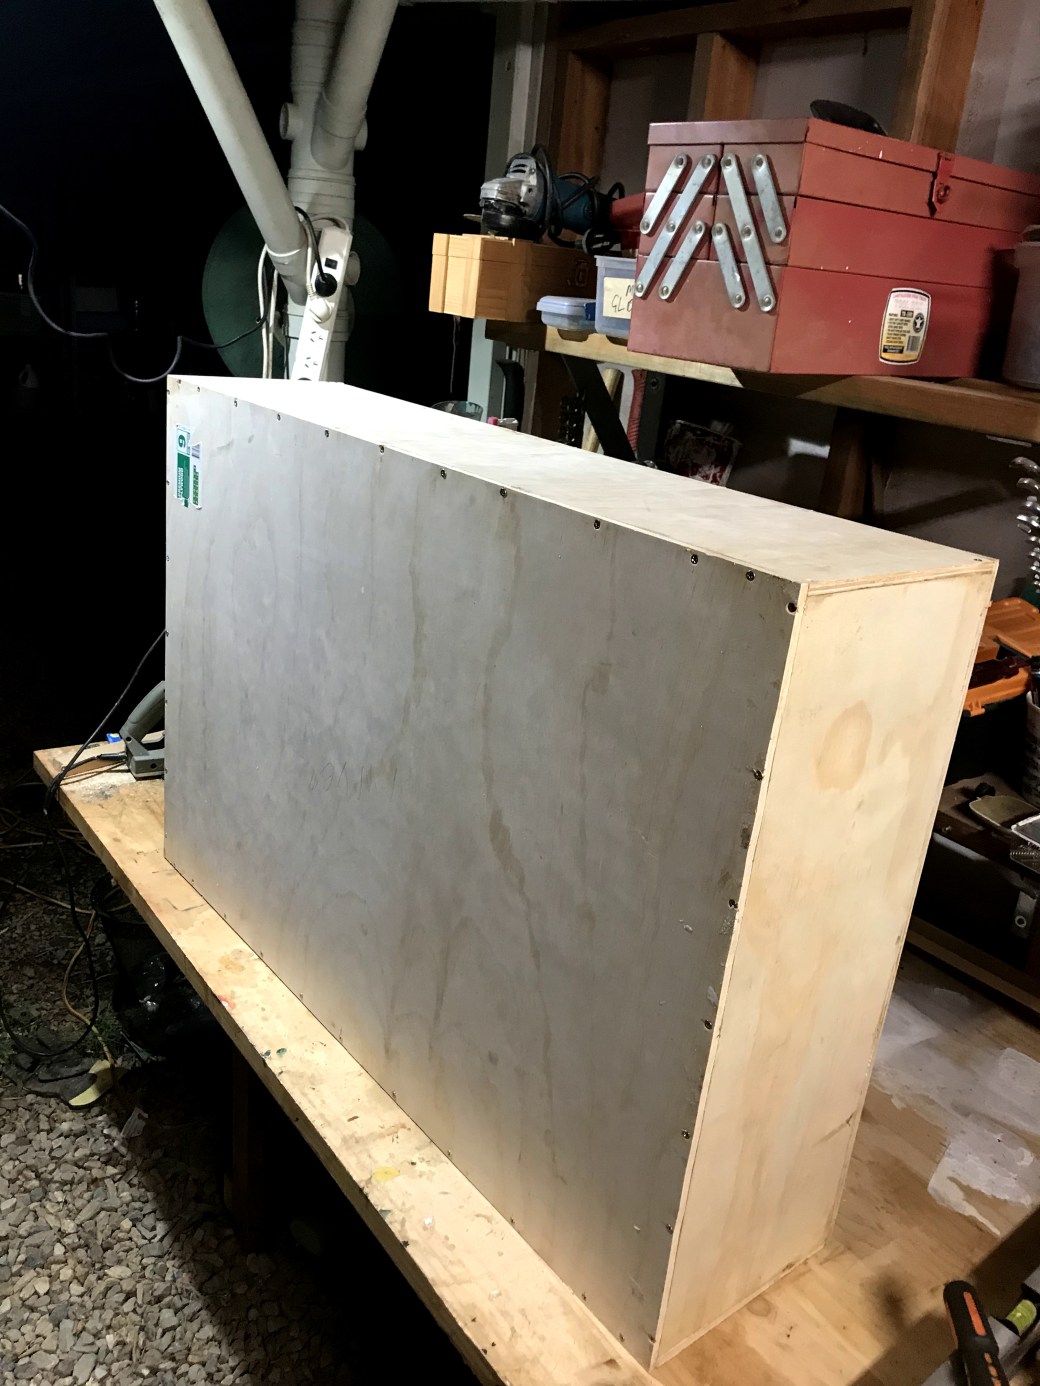
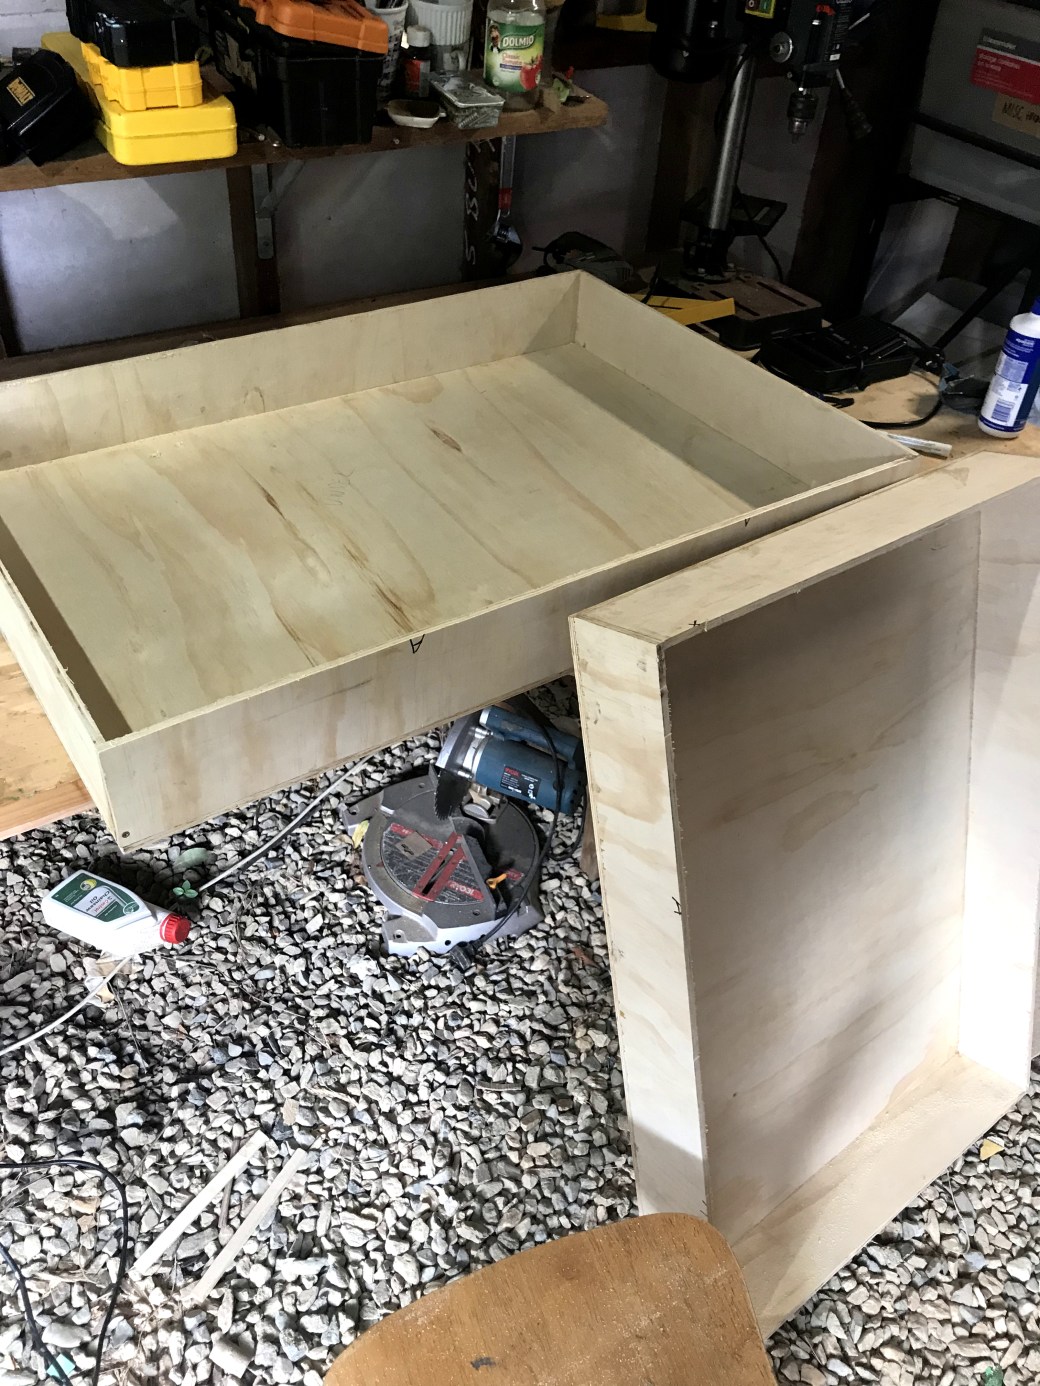
Make a box. Use wood glue and reinforce with timber screws. This is simply a matter of putting together the six sides.
Ok it’s this next part which totally blew my mind when I found out about it. It is indeed this very next thing which convinced me that I too could build a flight case. Ready?
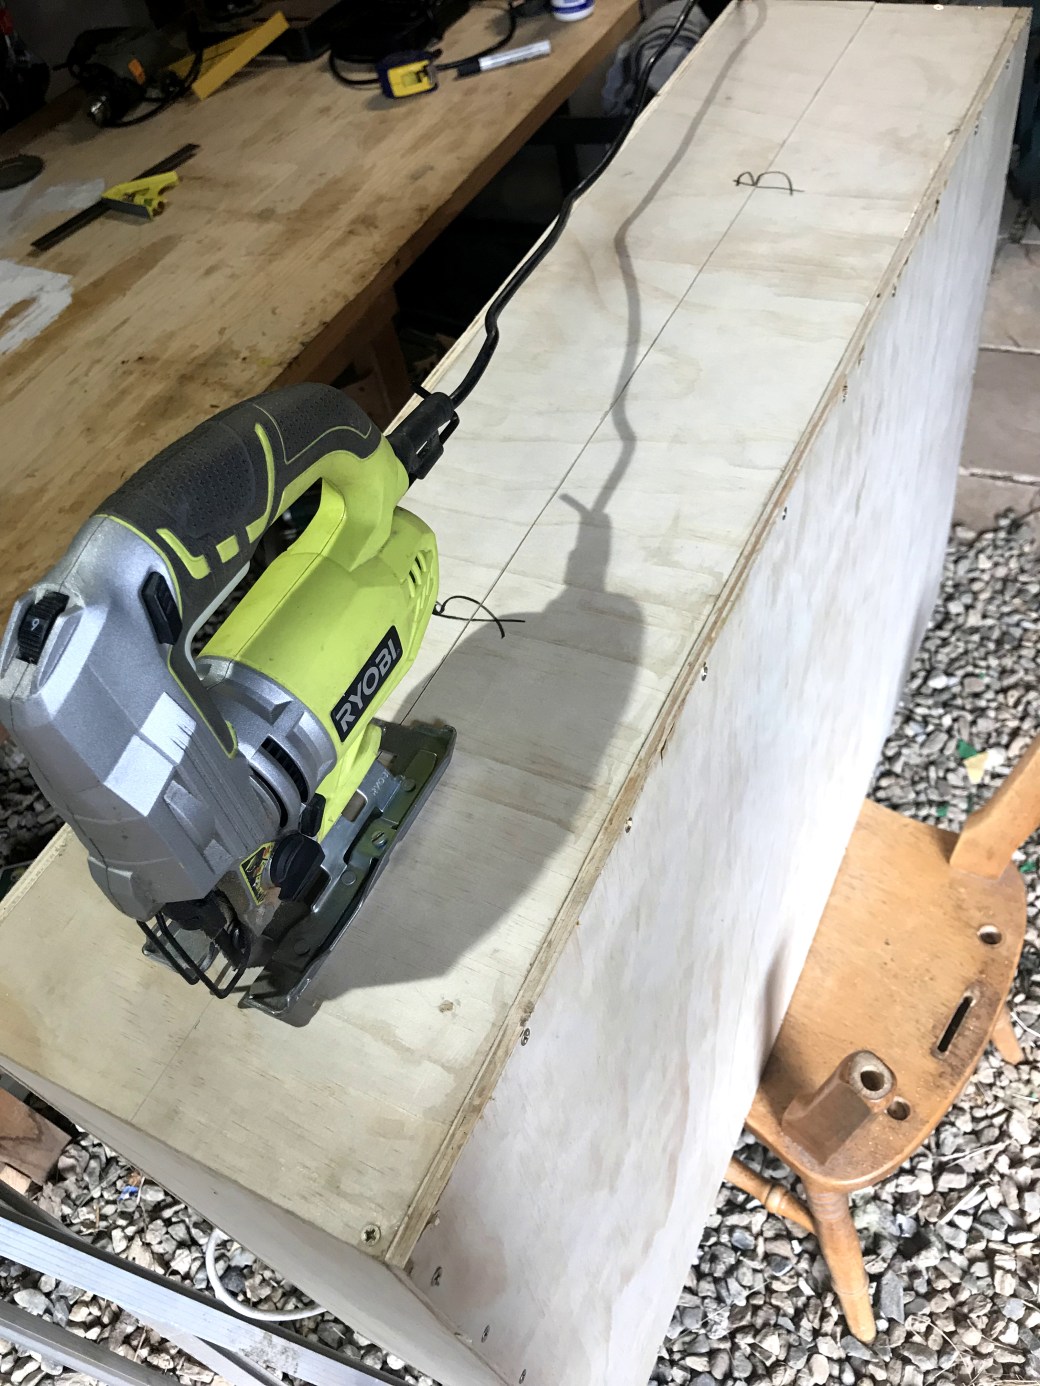
You don’t build two separate halves. You build a single box (as above) and chop it in half.
Doing this ensures you get a perfect fit, sans expert woodworking skills. Which is important in my case. Case. . . get it? Ok, moving on.
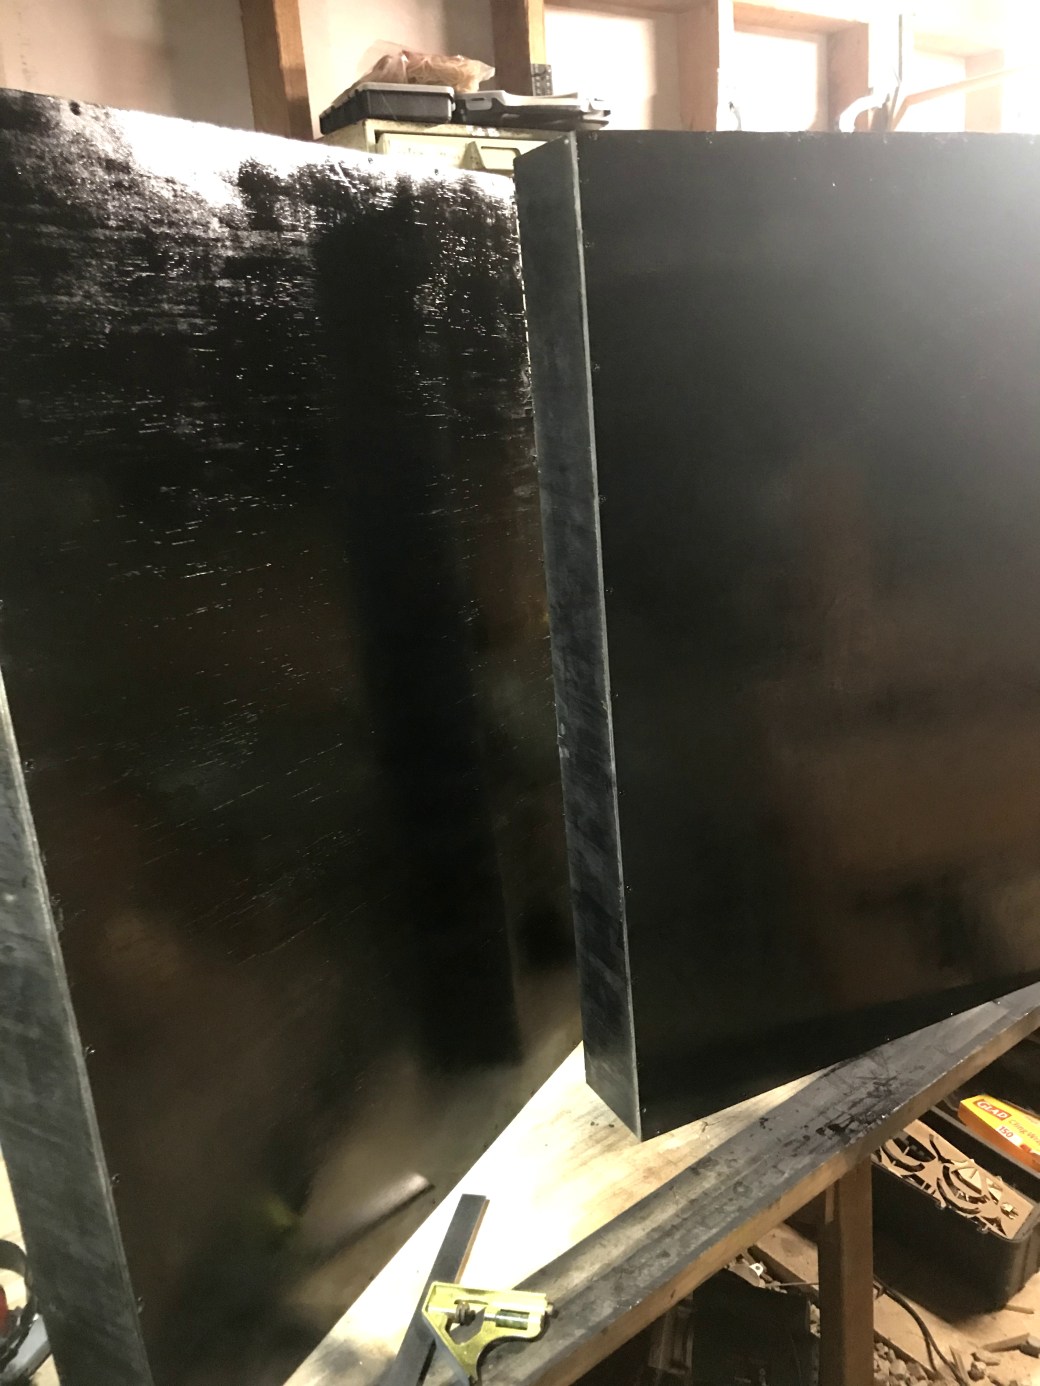
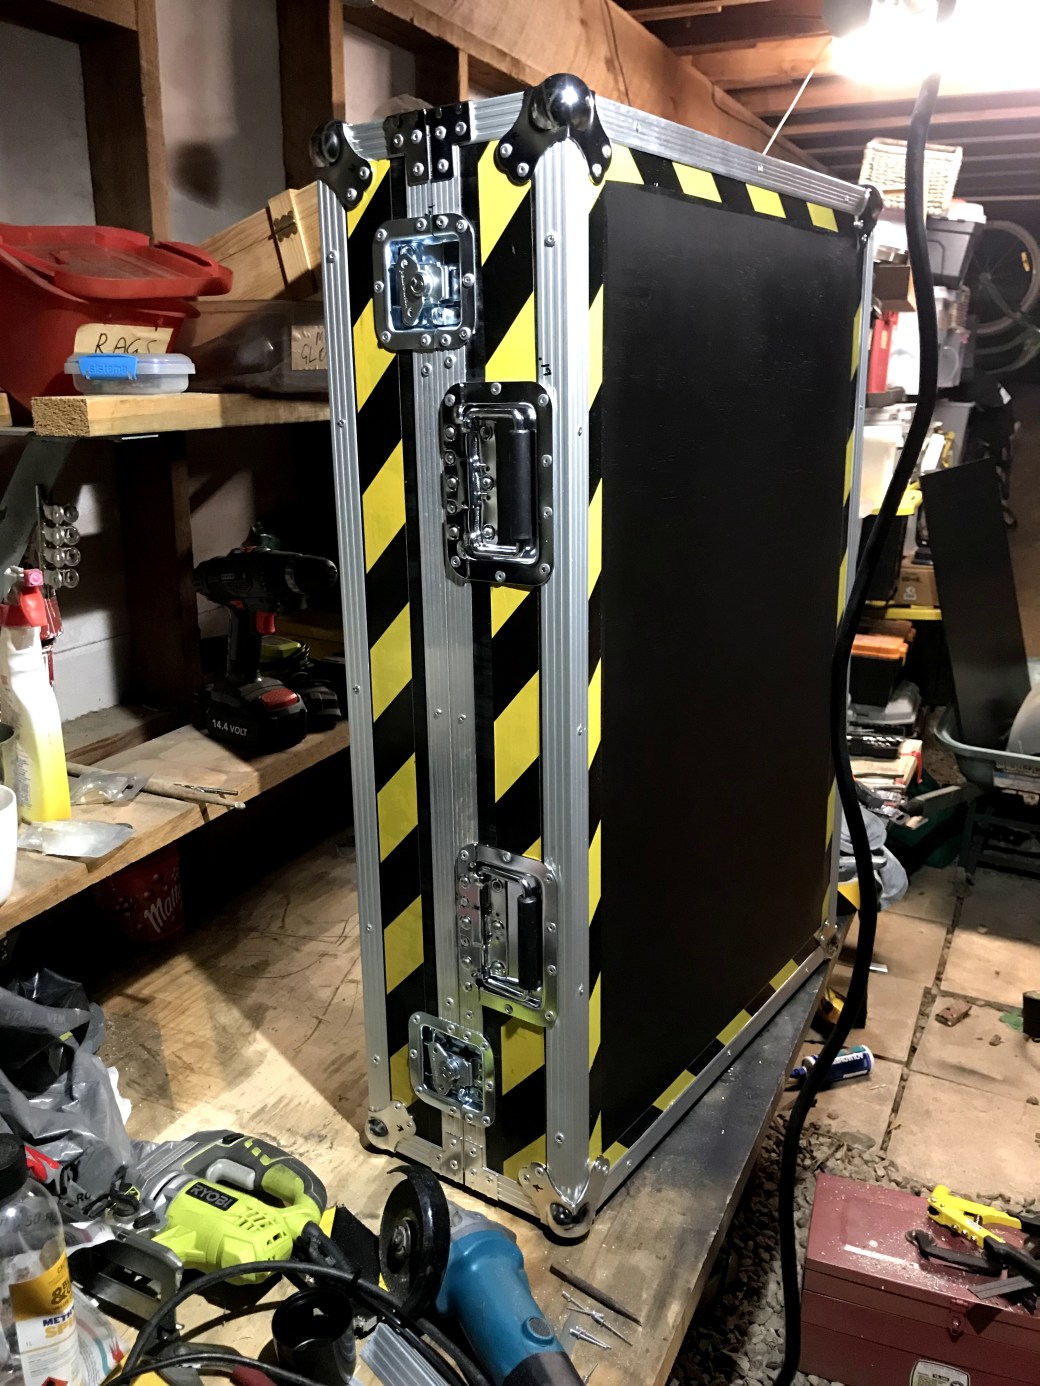
Paint it black (or any colour):
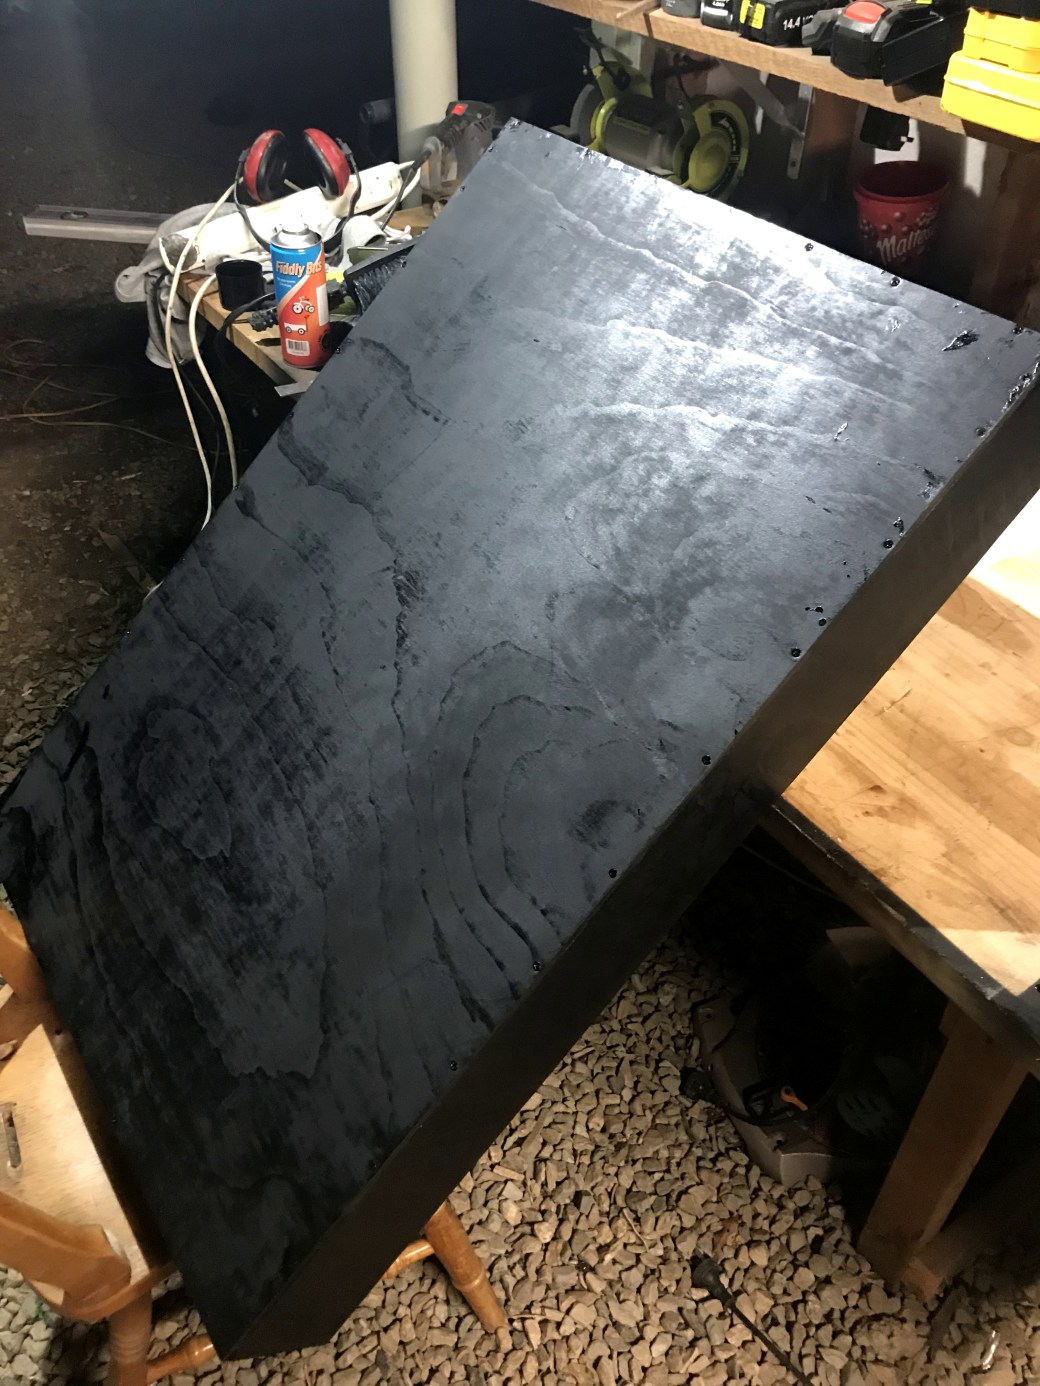
I wanted it to look somewhat alarming, so I added some saftey stripes for good measure. Once you’ve painted it you can start fitting the aluminium. I won’t go through all this in detail, but you basically need:
Angled extrusion, 30mm x the combined length of your sides. This is visible in the image below, and forms the neat metal edges.
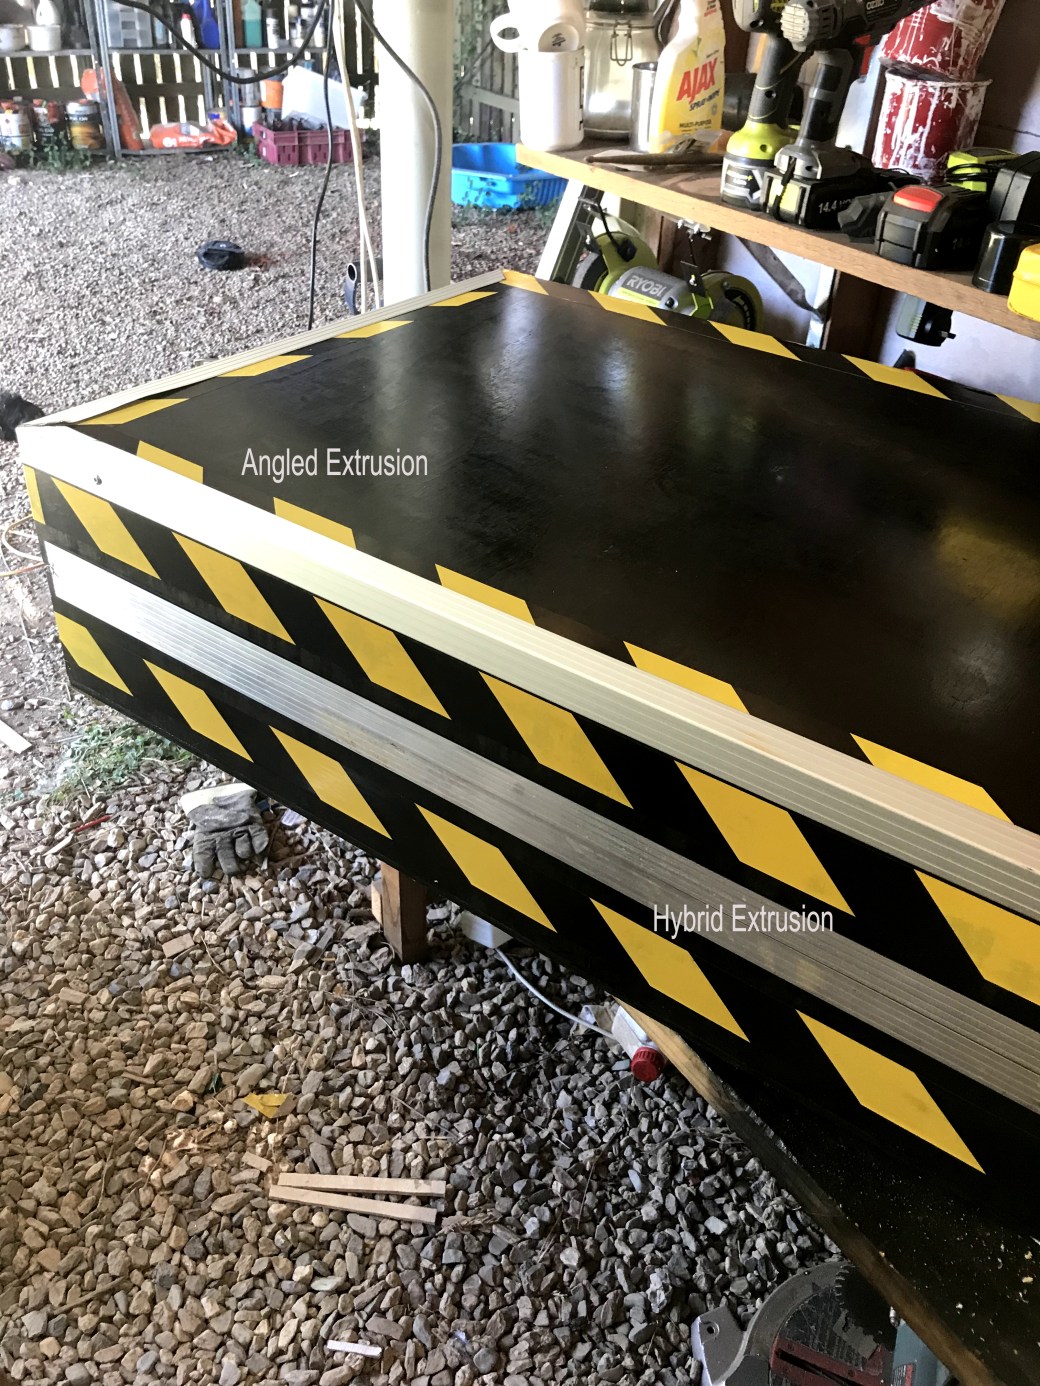
“Hybrid” extrusion, 30mm x the combined length of your sides (because it goes on the top and bottom halves). This is the part that goes between the two halves, allowing them to joint seamlessly in the middle. It holds the whole thing together when the box is closed. You’ll easily see how it works if you put it into google; here is the link for your convenience. Google Image Search for Hybrid Extrusion . Hybrid is easier than “male/female” because you only need one lot of it.
Corners, X 8 (in an image below).
L Brace plates, X 8. These are the bits that go in the inner corners, where the halves join (see images below). From top down they look like an L.
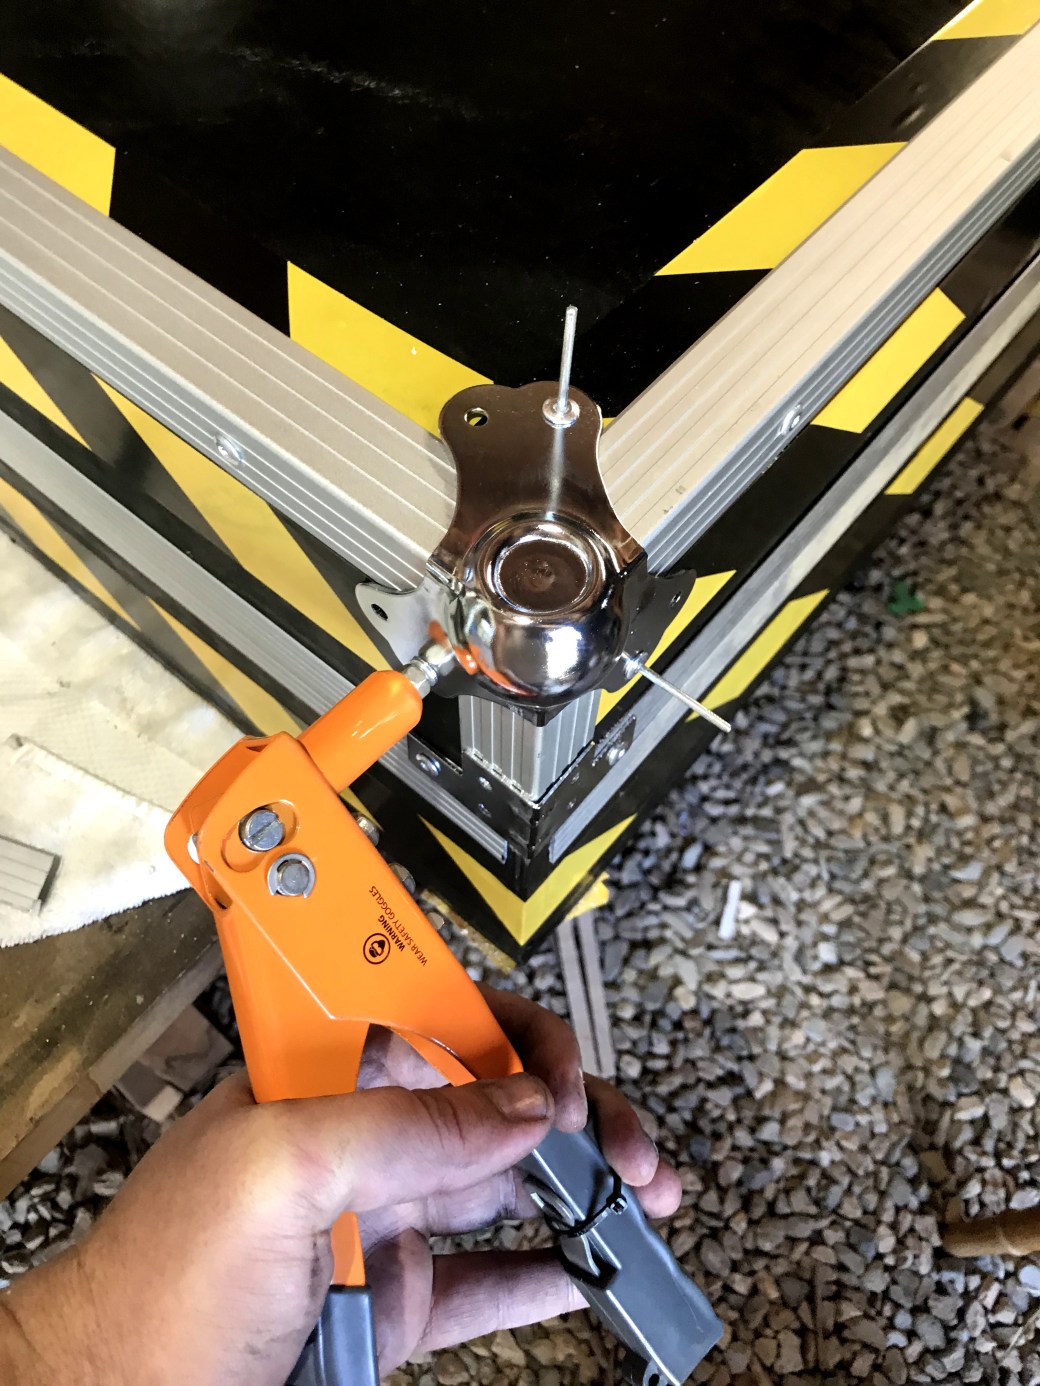
Latches, X 8. These come in different shapes and sizes. You have to take some care with selecting the correct ones – it’s easiest if you ask for help at the shop. Some have raised sections to accommodate the extrusions. I didn’t use those this time though.
Handles, X 2 (or however many you want).
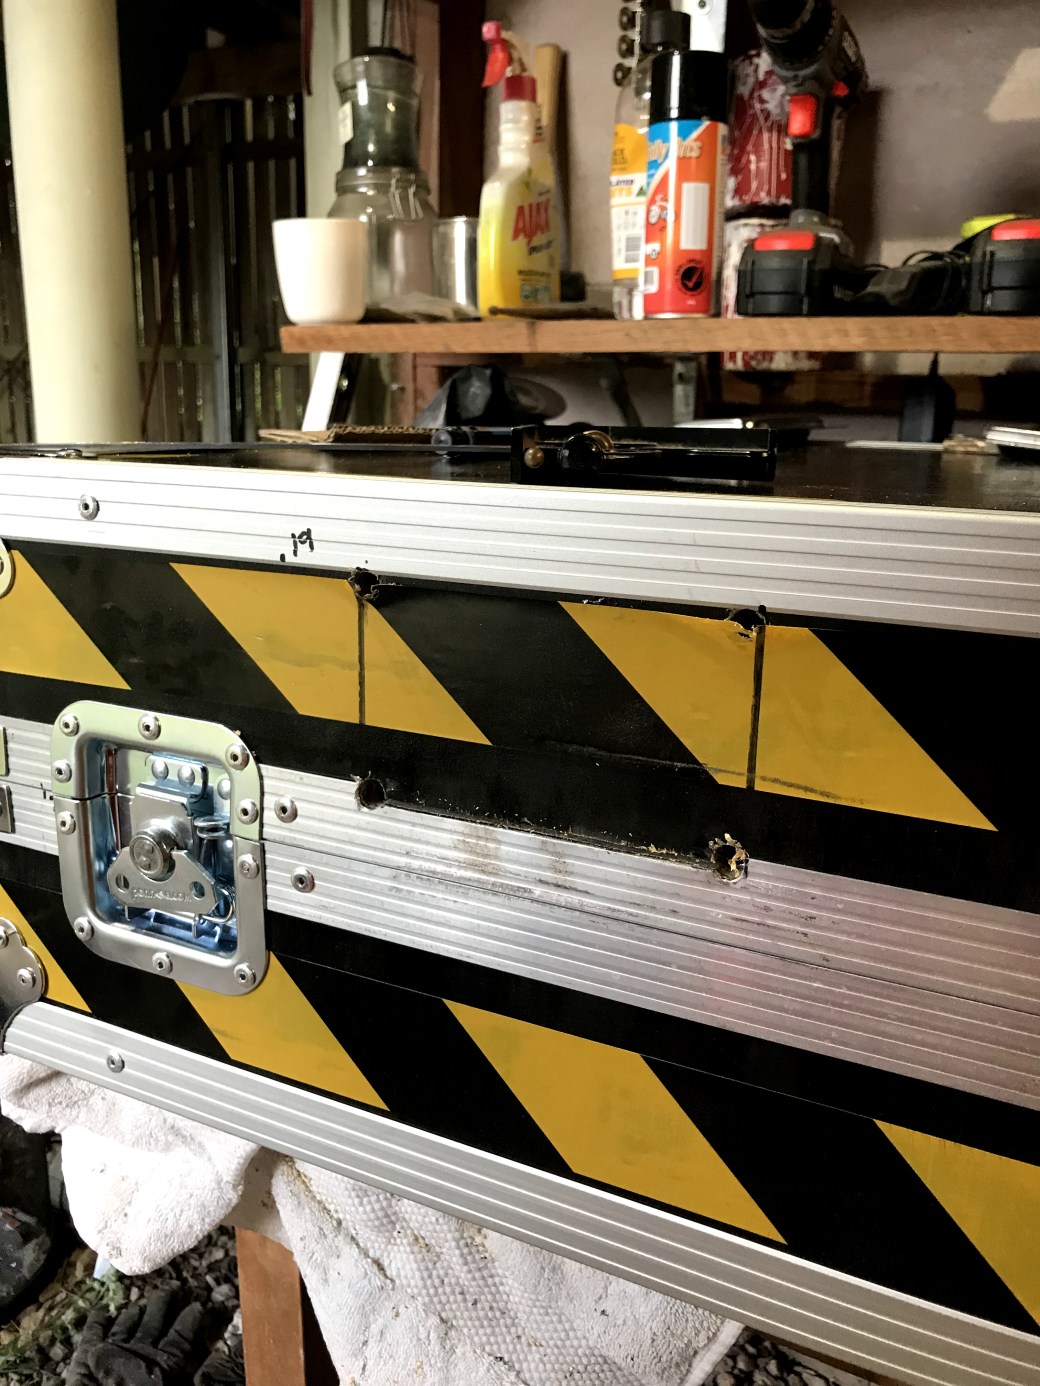
You have to cut out the spaces for the latches and handles. You can do this even after you’ve put your extrusions on, using a general purpose jigsaw blade, after drilling some holes for the blade to enter.
And we’re done! Well, the outside of it is done. I’m not going to lie, it weighs a tonne. But, it has a hope of withstanding the occasional airline staff toss from the cargo hold routine.
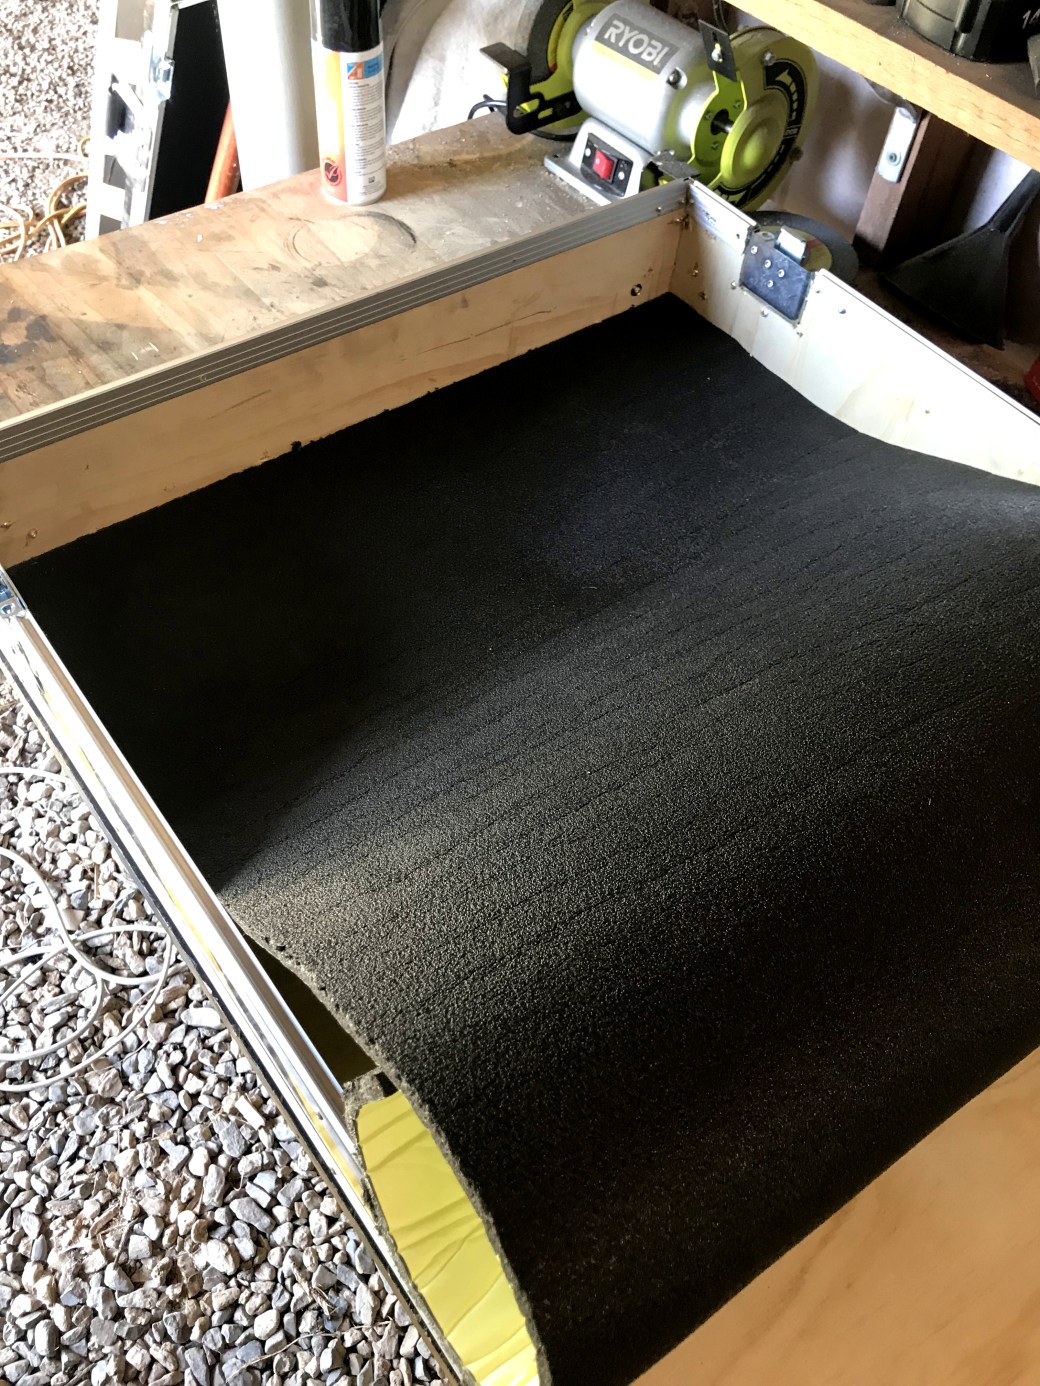
That’s just the start of it though, because the real challenge is in fitting out the interior. I could have done this in a number of different ways, and the main alternative is just getting foam custom-cut. But I wanted to keep it possible to swap gear in and out in future, so custom foam presents a difficulty that way. Instead, I used “floating” boards inside, lying on a layer of foam, with the equipment fixed to these boards.
I started with self-adhering foam.
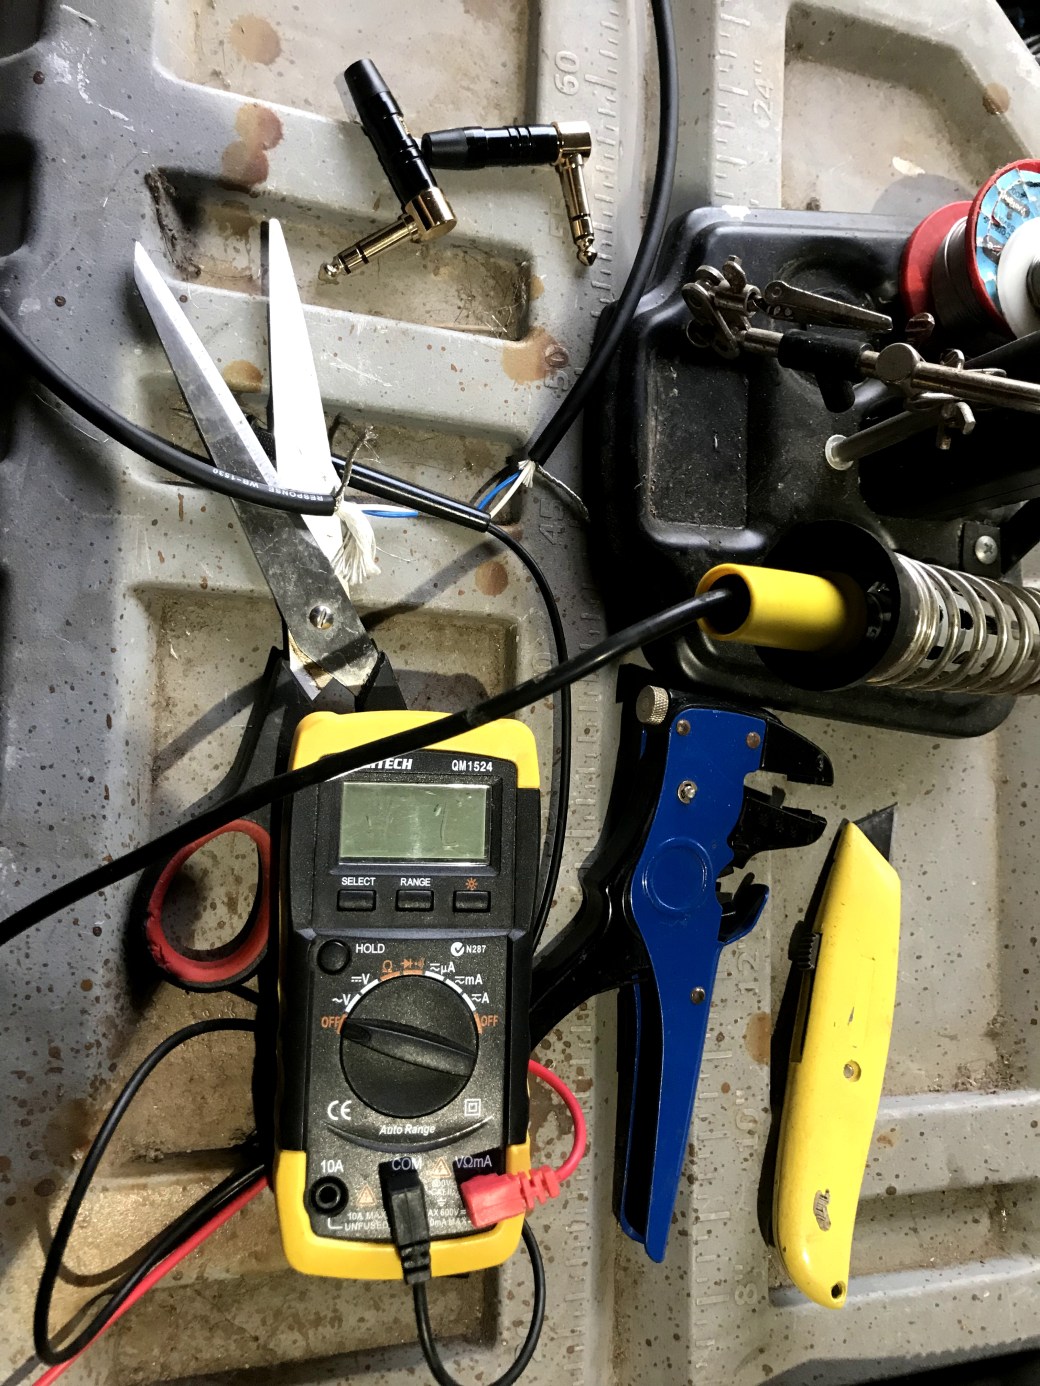
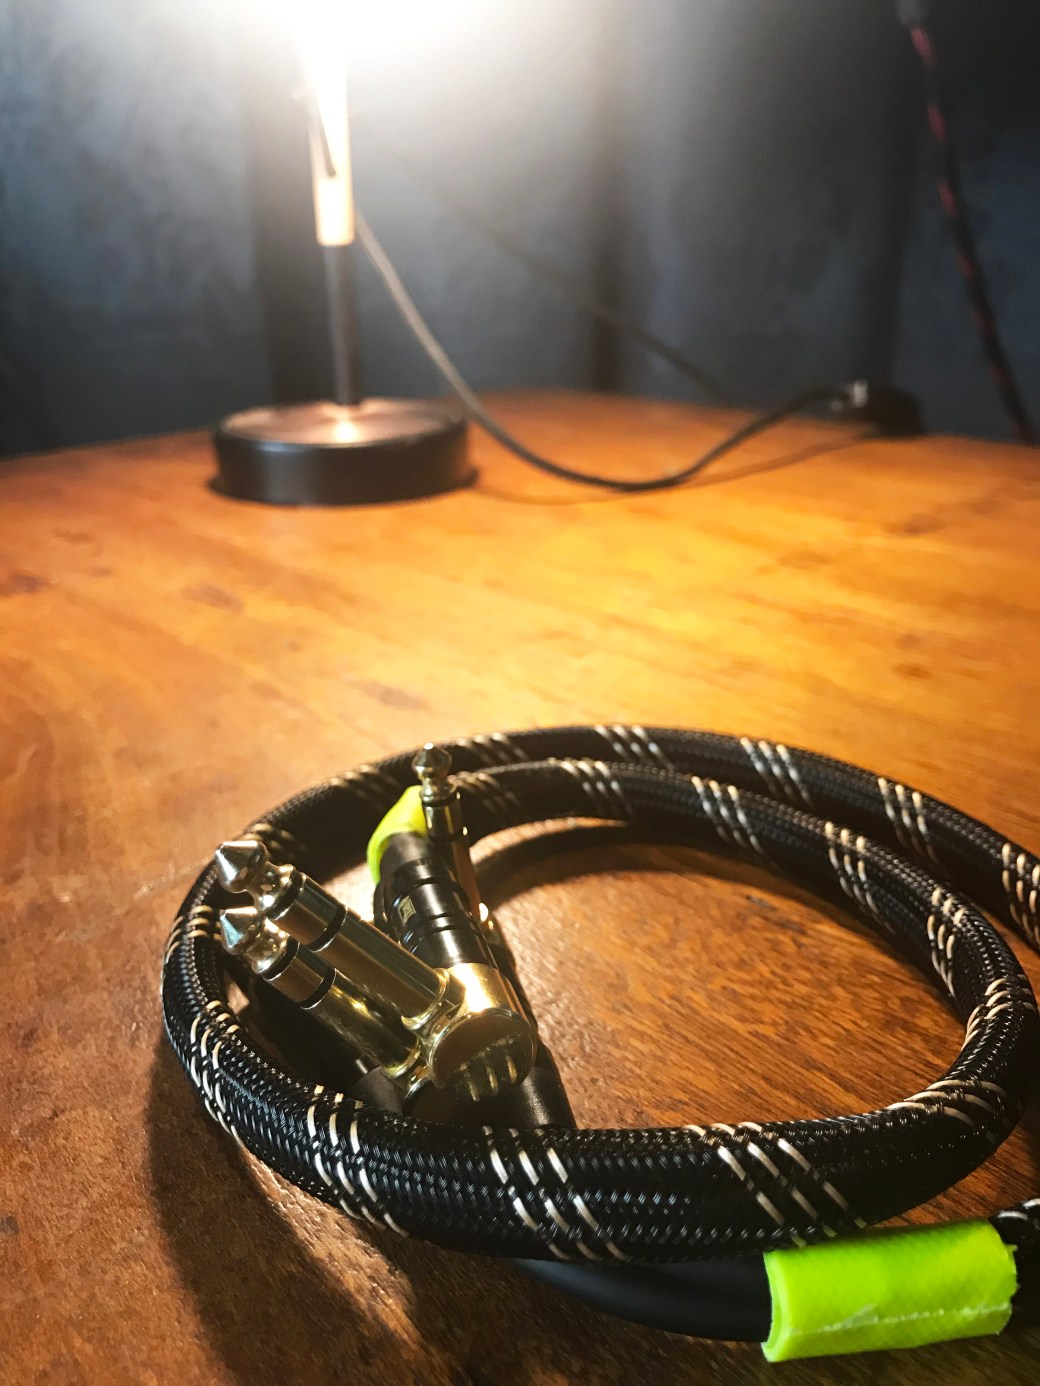
Fitting all the equipment means custom cabling. Building your own cables is another cost-saving/time-wasting activity which I will make another Zen-and-the-Art-of post about sometime.
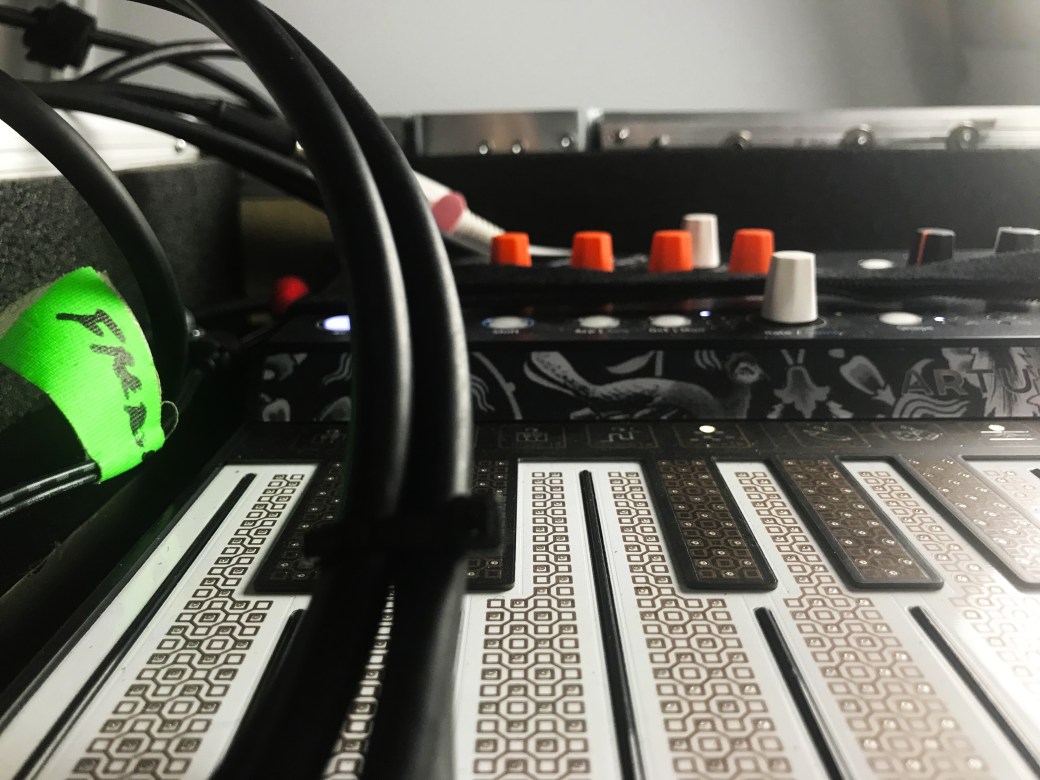
Here’s the interior, all laid out. I use both halves of the case.


So that’s done. This turns a half hour elaborate setup with check lists into a one minute box opening. There are some more bits and bobs which go in, not currently pictured. I’ve put it together so I can reconfigure it in future, and so the patching can remain in place during transport (two reasons I avoided custom foam).
It also means a clean studio (a good cleanup is always necessary for this kind of thing). It meant a few days away from screens. And it means a commitment to my existing workflow – maybe a few albums’ worth if I’m lucky. And. . . it’s going to mean a trolley, because that thing is heckin heavy, believe me.

So. Damn. Good.
LikeLike